I still remember the first time I tried to remove builder gel at home. I was impatient, so I grabbed the edge of a lifting nail and peeled it off. The result? A thin, papery, painful nail that took months to recover.
Here’s what I learned the hard way: builder gel itself doesn’t damage nails. Improper removal does.
This guide walks you through when to remove builder gel, how to do it safely, and the tools that make all the difference.
When Should You Remove Builder Gel?
Builder gel isn’t meant to be permanent. Most sets last 2–4 weeks before needing attention. Here’s when it’s time to remove it:
- You see lifting or separation. As your nails grow, the gel naturally begins to lift from the cuticle area. This is normal after a few weeks, but leaving lifted gel can trap moisture and lead to fungal issues.
- You want a fresh look. Ready for new length, shape, or design? Removing the old builder gel is the first step.
- You feel pain or sensitivity. Any discomfort around the nail is a red flag — remove the gel and check your nail health immediately.
Why You Should Never, Ever Peel Builder Gel?
Peeling feels satisfying in the moment, but you’re literally tearing layers off your natural nail every single time. This isn’t just unsightly — it’s one of the main reasons people experience lifting later on. Damaged nails have a rough, uneven surface that product can’t bond to properly.
Peeling also:
- Leaves nails thin, soft, and painful
- Takes months of healthy growth to fully recover
- Permanently weakens the nail plate over time
The ingredients in builder gel themselves cannot cause nail damage — the removal process is the issue. That is why performing it gently and correctly every time is essential.
Step-by-Step: Safe Builder Gel Removal at Home
This process works for soft builder gel, which is the most common type today. Hard gel and older professional systems may require filing only and do not dissolve in acetone.
What You’ll Need
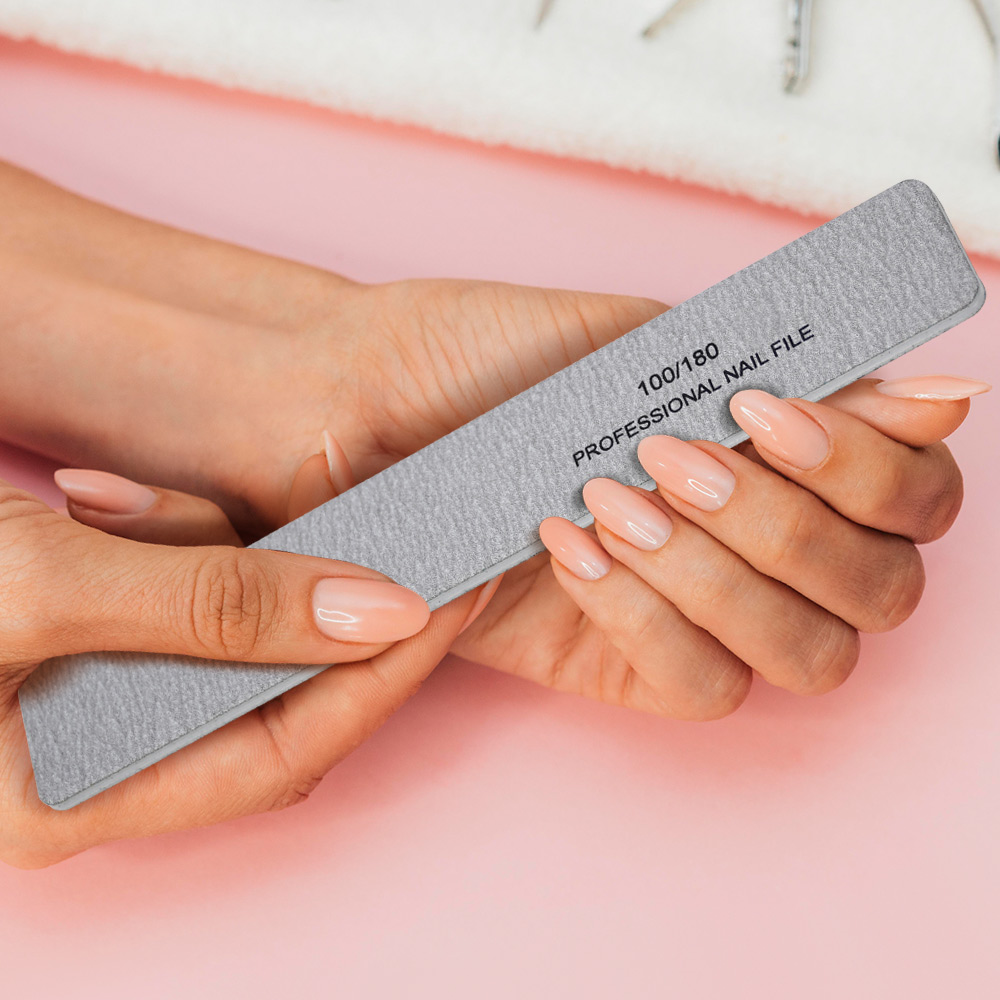
- Nail files (100–180 grit and 180–240 grit)
- Pure acetone (100%, not diluted nail polish remover)
- Cotton balls and aluminum foil (or reusable removal clips)
- Cuticle pusher or orangewood stick — wooden is gentler than metal
- Cuticle oil and hand cream
- Nail dust brush
- Rubbing alcohol
Note: For hard gel removal, skip the soaking step — you’ll need to file the product off completely.
Method 1: Soak-Off (Soft Builder Gel)
Step 1: File down the bulk product.
Using a coarse file (100–180 grit), gently file away the top coat and about 80–90% of the builder gel. File down to a thin layer, but never touch your natural nail. You’ll notice a texture and color change when you’re getting close — the natural nail has a matte finish compared to the shinier gel.
Step 2: Break the seal.
Continue filing the surface to create small abrasions. This allows the acetone to penetrate the product effectively.
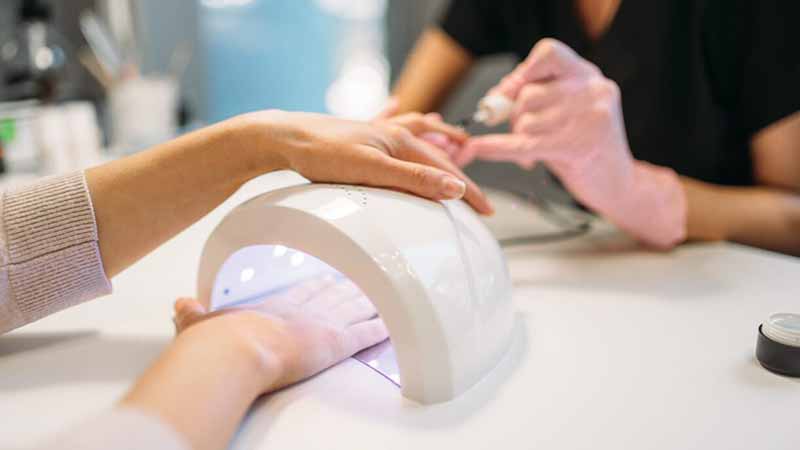
Step 3: Soak and wrap.
Saturate cotton balls in pure acetone — make sure they’re soaking wet. Place one on each nail and wrap tightly with foil. For best results, use cotton that fully covers the nail and press the wrap firmly to retain heat by activating the acetone vapor.
Step 4: Wait.
Let the wraps sit for 15–20 minutes. Warming your hands with a towel can speed up the chemical reaction. Do not peek — every time you unwrap, you release acetone vapor and slow the process.
Step 5: Gently push off the gel.
Unwrap one nail. Using a wooden cuticle pusher or orangewood stick (metal tools can gouge your natural nails), gently push the softened gel from the cuticle toward the tip in a sliding motion. If the gel resists, do not force it — rewrap and wait another 5 minutes. Forcing it is scraping, and scraping is the fastest route to damage.
Step 6: Remove residue and finish.
Once all gel is off, gently buff away any remaining residue using a soft nail file (180–240 grit). Wipe nails clean with rubbing alcohol to remove dust. Then apply cuticle oil generously to every nail and massage it in. Acetone is extremely drying, so follow with a rich hand cream.
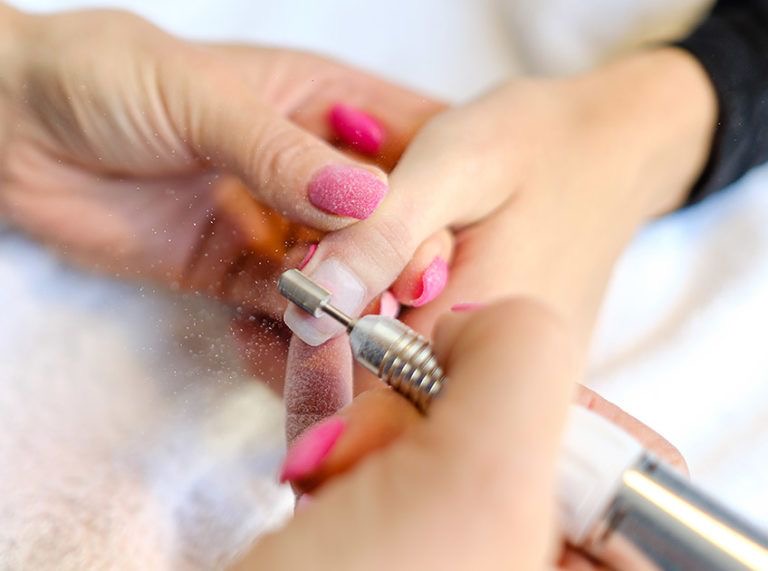
Method 2: File-Off (Hard Builder Gel)
If your product is a hard gel designed to be filed off, do not attempt to soak it in acetone. Hard builder gel has a much denser molecular structure than soft gel, making it resistant to acetone penetration. Instead:
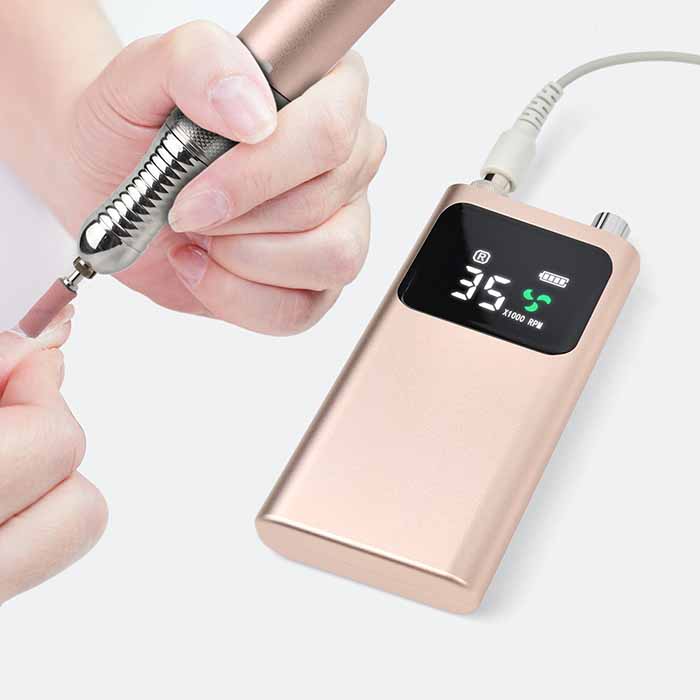
- Use an e-file with a medium to coarse ceramic or carbide bit.
- Keep the bit moving constantly and work at a low speed (around 10,000–15,000 RPM) to avoid heat buildup and friction burns.
- Stop filing when you reach a thin layer of base coat before the natural nail plate.
- Gently smooth the surface with a fine-grit buffer.
- Finish with cuticle oil.
What Are “Rings of Fire” and How Do You Avoid Them?
“Rings of fire” are deep, circular grooves worn into the natural nail plate by aggressive filing, often right where the cuticle meets the enhancement. They look like dents or lines carved into the nail. These grooves are not just cosmetic — they create thin, weakened areas that are painful and prone to further breakage. Nails with rings of fire are often too sensitive to hold new product, meaning you may need to take a long break from any polish or enhancements entirely.
Rings of fire can be created by hand filing just as easily as by an e-file when too much pressure or a coarse grit is used without control.
How to Prevent Them:
- Keep the bit moving constantly — never stay in one spot for more than a second.
- Use light, feathery pressure — let the tool do the work.
- Switch to a finer grit or a hand file when you’re near the natural nail — coarse bits are for bulk removal only.
- Stop filing immediately when you see a change in texture, color, or resistance.
- Check your progress frequently — brush away dust to clearly see the nail surface and how close you are to the natural nail.
Which E-file Bit Is Best for Builder Gel Removal?
If you’re using an e-file for hard gel removal or assisting the soak-off by product thinning, choosing the right bit makes all the difference:
- Ceramic bits are ideal for gentle removal. They generate less heat than carbide bits, glide smoothly over product, and are beginner-friendly, especially for reducing friction and heat on sensitive natural nails.
- Carbide bits remove hard gel and thick builder gel quickly and efficiently. Their cross-cut design shaves material away without generating excessive friction. Use medium grit for most builder gel removal work and coarse grit for very thick overlays or bulk debulking.
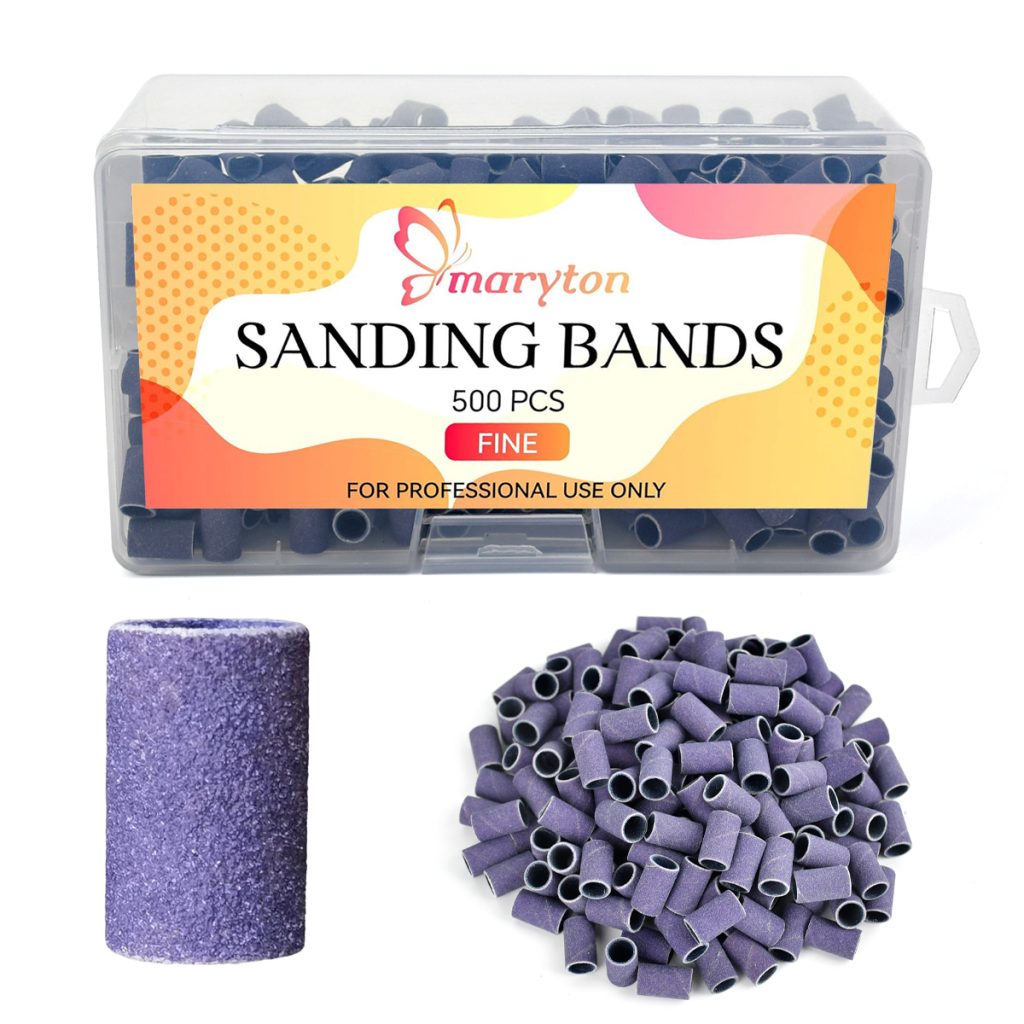
- Sanding bands on a mandrel are the most beginner-friendly option. Disposable and forgiving, they’re great for surface work and thinning product without cutting into the natural nail plate.
- Flame or cone-shaped bits provide precision near the cuticle and sidewalls. The tapered shape allows you to clean areas that flat bits can’t reach without damaging the surrounding skin.
Pro Tips for Damage-Free Removal
- Never use metal tools to scrape. Metal cuticle pushers used with force are a quick route to gouging your natural nail plate. Always use wooden or rubber-tipped sticks to push off softened gel — and only once it’s actually soft enough to slide.
- Don’t skip the filing step before soaking. Acetone can’t penetrate the smooth, shiny top layer of builder gel without abrasion — you must break the seal first.
- Don’t submerge your whole hand in acetone. That old-school method over-exposes your skin to harsh chemicals, is messy, and doesn’t work better than the foil wrap technique.
- Take your time. Rushing is the number one cause of nail damage. A safe removal may take 30–40 minutes, but thin, painful nails take months to grow out.
The Bottom Line
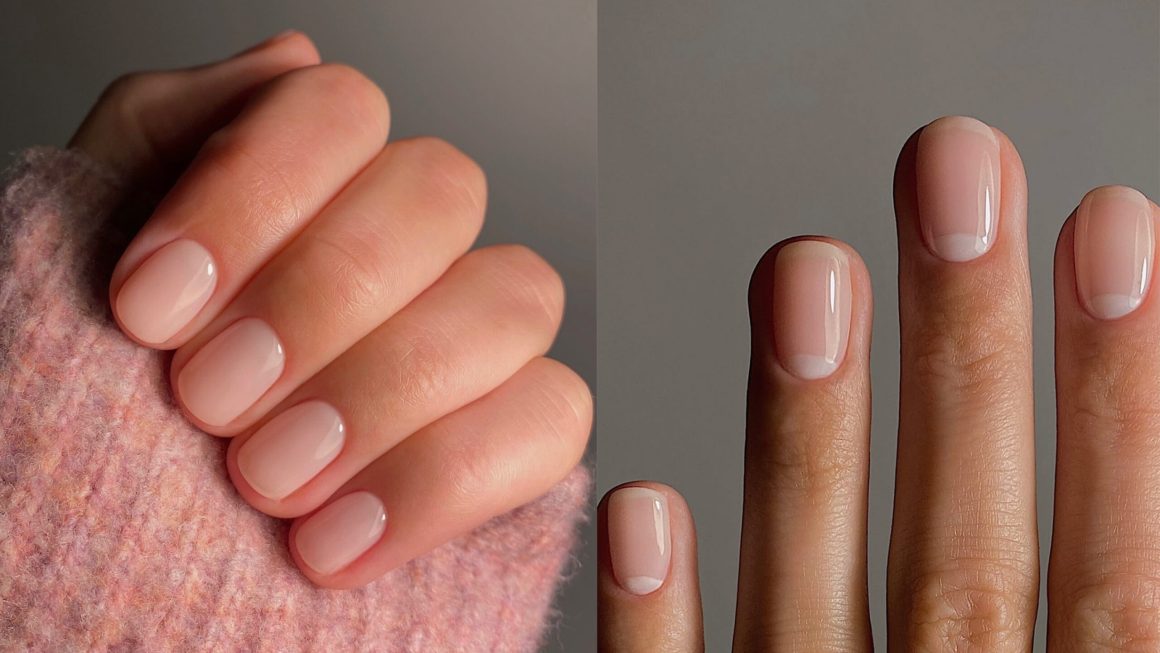
Removing builder gel safely is about patience, the right tools, and using gentle technique from start to finish. Whether you’re using the acetone soak method for soft gel or filing for hard gel, stop when you reach a thin layer — never file down to bare nail. And please, never peel.
Your natural nails are the foundation of every beautiful manicure. Treat them with care, and they’ll carry your next set beautifully.
Read also: The Art of the Flawless Manicure: Why Preparation Is Everything

One thought on “When and How to Safely Remove Builder Gel: A Step-by-Step Guide”