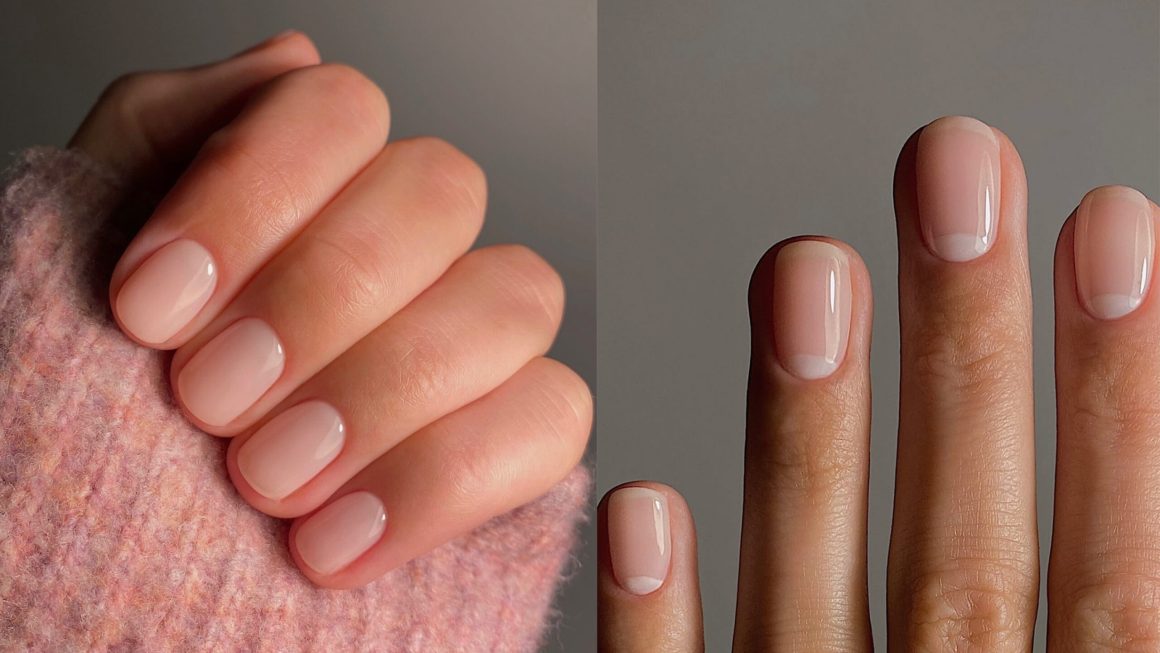
A flawless manicure is a thing of beauty. It speaks of attention to detail, self-care, and polish—quite literally. While a fresh coat of color is the star of the show, it is the work happening backstage that determines whether the final result is a masterpiece or a mess. The secret to a flawless manicure isn’t talent or expensive polish; it is preparation. With a standard manicure kit and the right technique, you can achieve professional, long-lasting results at home.
Why Nail Prep Is Non-Negotiable
Think of your nail as the foundation of a house. If the foundation is cracked, dirty, or unstable, even the most luxurious paint job won’t hold up. The same logic applies to your nails.
Proper preparation serves multiple purposes. It removes oils and residue that prevent polish from sticking, creates a smooth surface for even application, and ensures your manicure resists chipping and peeling . Skipping these steps is the number one reason why at-home manicures fail within days.
Step 1: Cleanse and Shape
Begin your journey to a flawless manicure by removing any old polish completely. Use a cotton pad soaked in nail polish remover, ensuring no trace of color remains.
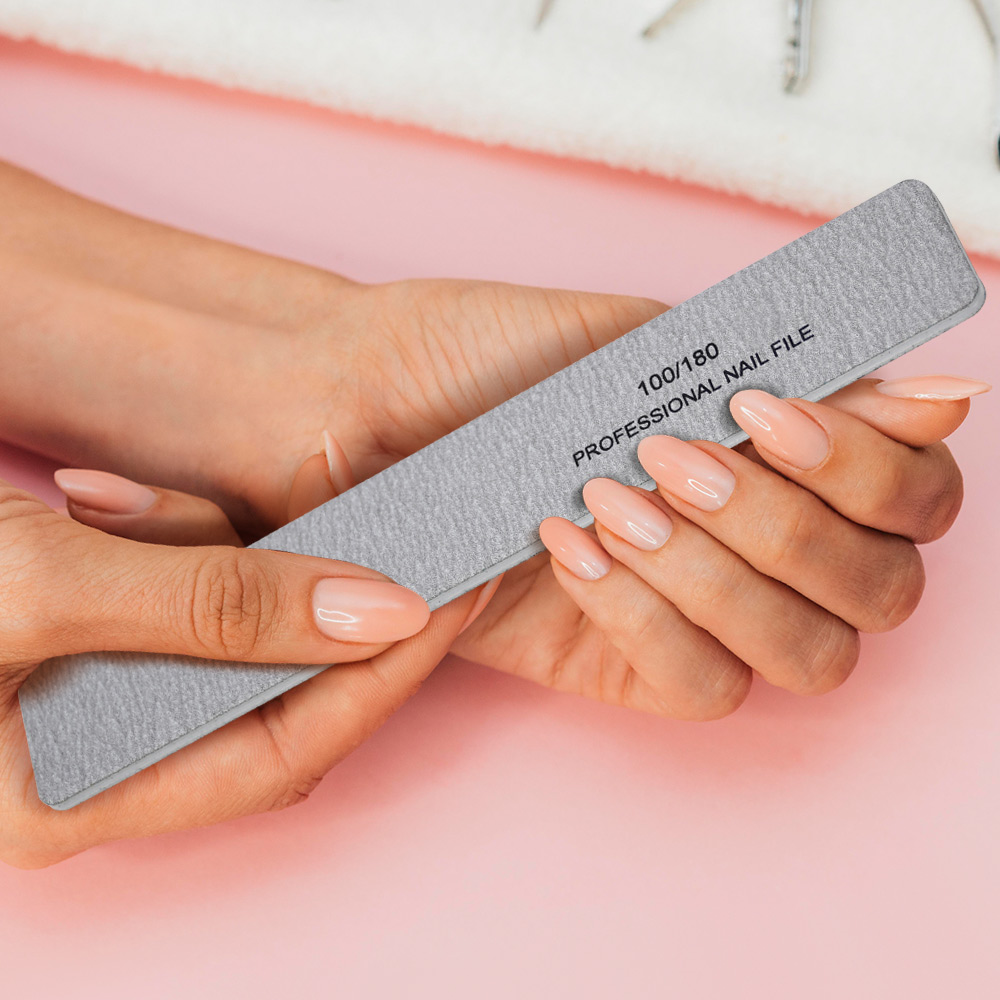
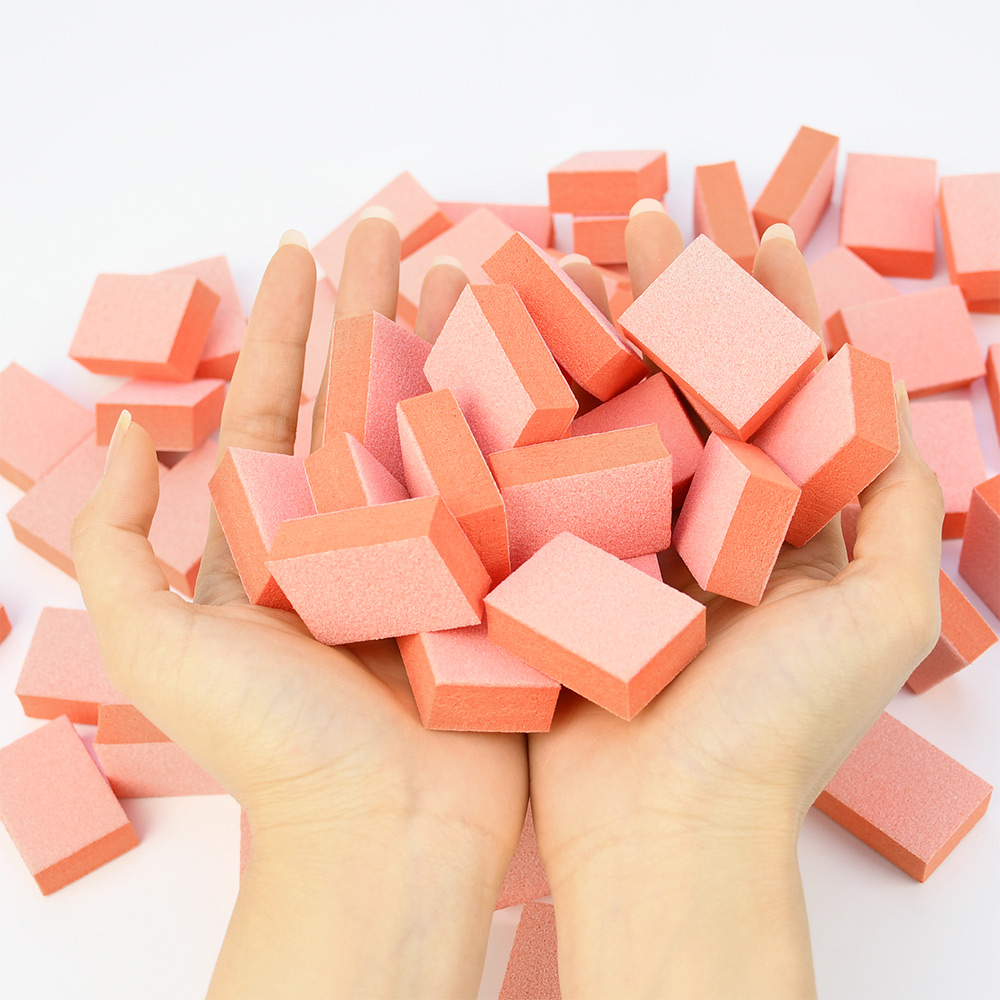
Next, reach for your nail file. This is where your manicure kit becomes essential. Use a high-quality file—glass files are gentler and help prevent splitting . File from the outer edge toward the center in one direction only. Avoid sawing back and forth, as this can weaken the nail and cause peeling . Choose a shape that suits your hands; oval or almond shapes can elongate wider nail beds, while squoval shapes suit narrow nails.
Step 2: Tend to Your Cuticles with Care
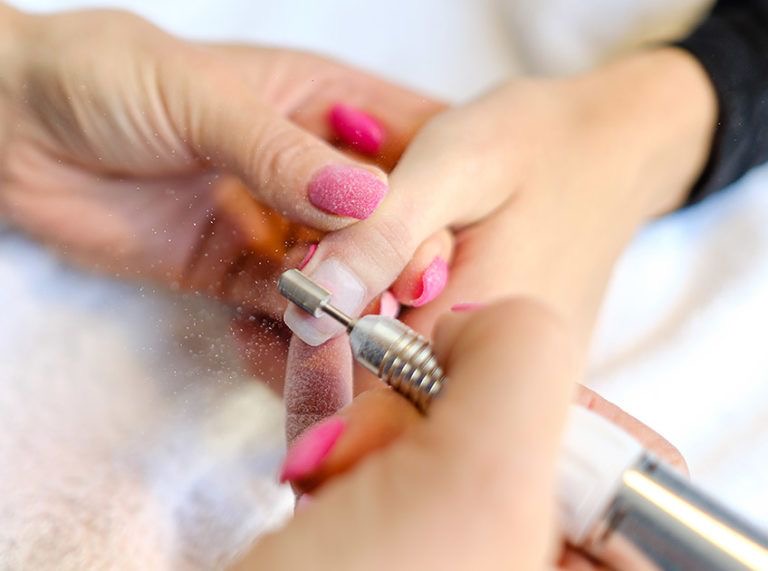
Cuticle care is arguably the most critical step, yet it is where many people go wrong. The goal is not to cut your cuticles, but to gently manage them. Apply a cuticle softener or soak your fingertips in warm water for a few minutes . Then, use a cuticle pusher or orangewood stick to gently push back the proximal nail fold and carefully remove any dead skin adhering to the nail plate.
Be gentle. “It’s important not to rip, tear, cut, or force the cuticle as this can cause damage to your nail bed and risks infection” . Healthy cuticles create a clean, professional-looking base and help polish adhere better.
Step 3: Buff and Smooth
Once your cuticles are tidy, it is time to refine the nail surface. Use a fine-grit buffing block to gently buff the nail plate. The objective is not to thin the nail, but to remove natural shine and create a slightly textured surface for polish to grip. “Buffing is about creating a smooth canvas, not removing layers,” notes nail artist Jessica White.
A quick once-over is sufficient. Over-buffing leads to thin, weak nails that are prone to breakage. Follow the direction of nail growth to avoid damage.
Step 4: The Final Cleanse
The last step before applying color is the most important for longevity. You must remove all traces of dust, oil, and debris. Use a dusting brush to sweep away filing residue, then reach for a lint-free wipe soaked in rubbing alcohol or a dedicated nail cleanser.
This dehydrates the nail, ensuring your base coat bonds directly to the nail plate rather than to a layer of oil or moisture . Once your nails are clean and dry, do not touch them with your fingers. Apply a quality base coat, cap the free edge, and proceed with your chosen color.
By following these steps with tools from a simple manicure kit, you transform a routine task into a ritual. You create the perfect canvas, and that is the true art of the flawless manicure.
Read also: A Guide to Removing Artificial Nails and Restoring Your Natural Ones